Monday, January 18, 2010

Poinsettia Instructions

Wow! Busy week last week. I worked a few days and Saturday was my monthly crop that I vendor at. I didn't do as well as last time I went but I did sell some MemoryWorks stuff. So here we are now. And as promised, I am posting the directions to make the poinsettia bouquet I had made. I know it is late, but you can get a jump start for Christmas 2010.;)

Poinsettia Bouquet Instructions
Supplies Needed:
MemoryWorks Products:
--Red and Green Pattern Paper of choice and/or Cardstock
(I used Prism Cardstock in Blush Red Dark and Intense Kiwi for the flower in the instructions)
--Ranger Ink Distress Ink in Fired Brick and Peeled Paint
--Zip Dry Glue
--Scissors
Non-MemoryWorks Products:
--20- and 24-gauge Floral Wire (optional: 28-gauge Floral Wire for wrapping petals to stem)
--2 Stamens (found in floral department)
--Floral Tape (Green)
--Styrofoam Block (to fit basket)
--Basket of choice (or you can make a basket like I did using Pattern Paper and/or Cardstock)
--Wire Cutters
--Pencil and Eraser
Optional:
--Clear Marbles (found in floral department)
--Spanish Moss (found in floral department)
--Cellophane Wrap

Note: I made these flowers from a pattern I have for Plastic Canvas. (back cover lower right corner: Poinsettia made in Plastic Canvas). This goes to show that you can use any pattern for papercrafting.
Front Cover
Front Cover
Back Cover
Back Cover

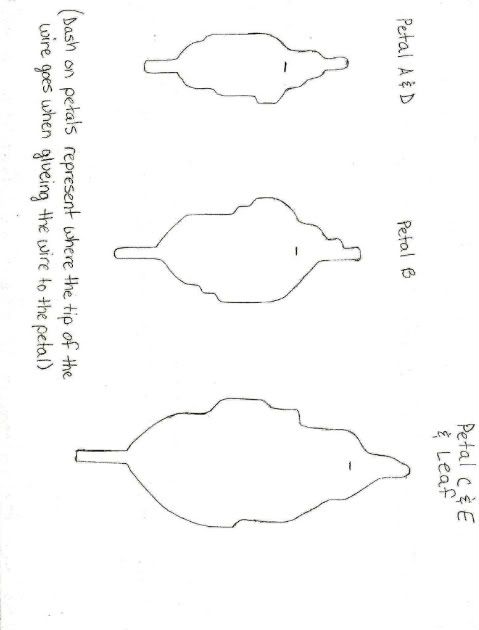
Petals and Leaf Patterns
Photobucket

Step 1: Gather supplies and cut out patterns.
Photobucket

Step 2: Using a pencil, trace petal and leaf patterns on back side of paper/cardstock. For small flower, you will need 3 A petals, 5 B petals, and 4 leaves.

Step 3: Cut out all petals and leaves. Run an eraser over edges to erase any pencil marks that are left.

Step 4: Cut a 6” piece of 24-gauge floral wire for each petal and leaf.

Step 5: Glue 6” piece of floral wire to back side of each petal and leaf. (Note on pattern: dash/line on petal and leaf patterns indicates where the end of the wire should be placed.)
Photobucket
Be sure to press wire into glue.

Step 6: While the glue dries, make a stem by attaching 2 stamens to 20-gauge floral wire. To do this, cut 20-gauge floral wire into 9” piece. Take the 2 stamens and place 9” piece of wire between them.
Step 6a

Twist stamens wires around the 9” piece of floral wire. (Or use a small piece of 28-gauge floral wire to wrap around stamens.)
Step 6bPhotobucket

Starting at the top of the wire and bottom of stamens, wrap floral tape around stamen wires.
Photobucket

Wrap twisted wires with floral tape and cut off tape.
Photobucket

Step 7: Once glue is dry and wires are attached securely to petals, ink edges of petals and leaves.
Photobucket

Step 8: (Optional) for a more realistic look, use the edge of ink pad to draw lines on petals and leaves for veins.
PhotobucketPhotobucket

Step 9: Bend/curl petals to shape. (You can do it as you add the petals to the stem.)
Photobucket

Step 10: Now to start assembling the flower. For the small flower, place the 3 A petals around the bottom of stamens.
Photobucket

Step 11: Starting under the petals, wrap wires with floral tape. (Optional: use a small piece of 28-gauge floral wire to wrap around petals and leaves. Then wrap with floral tape.)
Photobucket
Wrap tape the whole length of the petal wires. Break off tape.

Step 12: Place 5 B petals around stem about ¼” below the bottom of the A petals on the wire stem.
Photobucket

Step 13: Starting under petals, wrap wires with floral tape the whole length of the petal wires.
Photobucket
Break off tape.

Step 14: Place 4 leaves around stem about ¼” below bottom of the B petals on the wire stem.
Photobucket

Step 15: Repeat step 13.
Photobucket
Wrap tape all the way down the stem (to the bottom of the stem). Break off tape.

Step 16: Bend petals and leaves to shape as desired. (before I placed flower in basket, I bent/folded over the stem wire upwards.)
Photobucket

Step 17: For larger flower, repeat steps 1 – 9. (For step 2, you will need 3 A petals, 5 B petals, 3 C petals, 3 D petals, 3 E petals, and 4 leaves.)(Each of the different sized petals can be done using different paper like I did with my bouquet. If using cardstock, you would need 6 A petals, 5 B petals, 6 C petals, and 4 leaves.)

Step 18: Assembling the large flower, repeat steps 10 – 13 for assembling small flower.

Step 19: Place 3 C petals ¼” below B petals and wrap with floral tape.

Step 20: Repeat step 19 two more times by placing 3 D petals and then 3 E petals on the stem.

Step 21: Repeat steps 14 – 16.


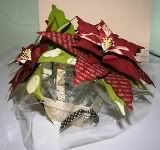
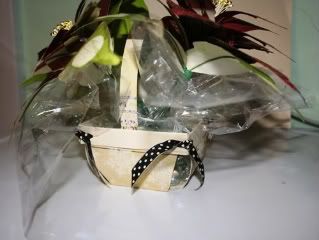
You can make an arrangement out of these by placing a Styrofoam block in a basket and cover it with Spanish Moss before placing flowers in basket. For my arrangement, I used a template to make a basket out of patterned paper and cardstock. I took a piece of cellophane wrap and placed it in the basket. I placed the Styrofoam block in the middle of the wrap and placed clear marbles (found in floral department) in the wrap around the Styrofoam. This hides the Styrofoam and adds some stability to the basket/arrangement. I tied a ribbon around cellophane wrap (be sure to leave a small opening for flowers to go in). I then placed my flowers in the basket and arranged and shaped flowers as desired.
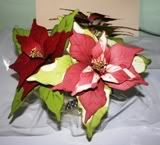
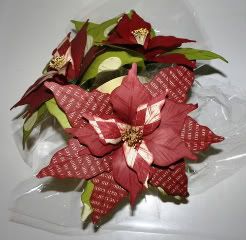
Nov09 MWE Kit Poinsettia BouquetNov09 MWE Kit Poinsettia Bouquet Side


There you have it. It can be tricky when trying to hold the petals onto the wire stem as you wrap with the floral tape. I would hold them on there the best I could and wrap with the tape. Once I have them taped to the stem, then I move the petals around better on the stem. So I wish you best of luck in making these flowers and if you have any questions, feel free to ask.

Happy Scrappin'!

Signature resized smaller

Friday, January 8, 2010

Another Week Gone By............

Boy, time is flying by! We are a week into the new year already. That goes to show as we get older the time flies by faster.;) But anyhoo, I am going to share my much awaited projects made from the November 2009 MemoryWorks Express Kit. This was an awesome kit!! I got mine a week or two earlier than normal because November was my month to create projects from that kit as a TeamWorks member. I am so happy that I made the team again this year. I can't wait to get started! The first project everyone loved it and I had request for the pattern/directions to make it. I made a poinsettia bouquet using a pattern I have from Annie's Attic to make the same bouquet in plastic canvas. I used the pattern for the petals and leaves from that book to make the petals and leaves from paper. I used a basket template instead of making the same basket in the book. I had fun making this. I will post the directions to make it in my next post that I do here. But in the meantime, enjoy looking at my projects I made from this kit.

"Poinsettia Bouquet" by Sharon Hill
Poinsettia TopPoinsettia BouquetPoinsettia Bouquet Side

"Poinsettia Bouquet Basket" by Sharon Hill
Poinsettia Bouquet Basket

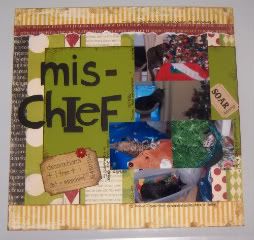
"Mischief Layout" by Sharon Hill
Mischief Layout

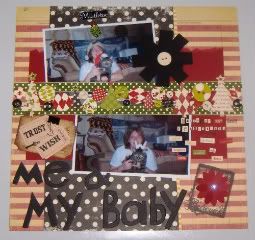
"Me & My Baby Layout" by Sharon Hill
Me & My Baby Layout

"Home for the Holidays Layout" by Sharon Hill
Photobucket

"Believe Card" by Sharon Hill
Believe Card

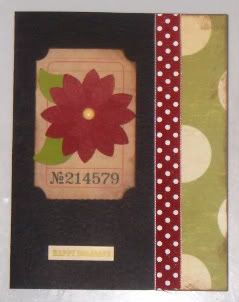
"Happy Holidays Card" by Sharon Hill
Happy Holidays Card

"Merry Christmas Card" by Sharon Hill
Merry Christmas Card

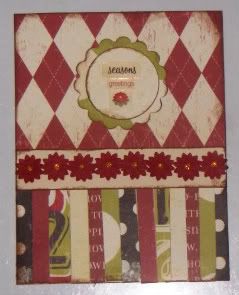
"Season's Greetings Card" by Sharon Hill
Season's Greetings Card

"White Christmas Card" by Sharon Hill
White Christmas Card

I can't believe how much I got out of this kit, because the poinsettias used half of the paper and cardstock in the kit. But to my surprise, I was able to make 3 layouts and 5 cards from what was left in the kit. Well, off to do some cleaning. I still haven't put my christmas decorations away yet!

Happy Scrappin'!:)

Signature resized smaller

Friday, January 1, 2010

Happy New Year!!!

I hope everyone had a happy and safe new year. I stayed home this year because one of my BFF had to work. Last year I went to her place with her family. It was nice to see her SIL. I haven't seen her in a few years. The funny thing is, the house where my brother and SIL live, was my BFF's SIL's house. I didn't know which house my brother bought until I saw it. I thought I know the old owners who used to live here. What a coincidence! But anyhoo. I hope everyone had a nice new year. And I hope that this new year brings peace and good fortune to all.

Now as promised, I am going to share the rest of the projects I made from the MemoryWorks Express Kit. I loved this kit!! I especially loved the embellishment kit from Making Memories. It has cute felt puffy ghosts and paper bats. It also came with buttons, twine and ribbon, and jewels/bling. I also loved the papers that came with the Express kit. I created a lot from this kit and still had some (not much) left from the kit. This goes to show you how versitile the MemoryWorks Express Kits are. You can create lots of neat projects from these kits. Wait until you see what I did with the November kit.;)

"Cheer Layout" by Sharon Hill
Photobucket

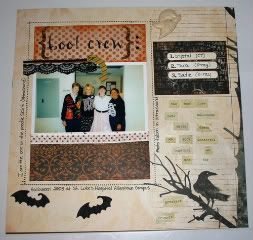
"Boo Crew Layout" by Sharon Hill
Photobucket

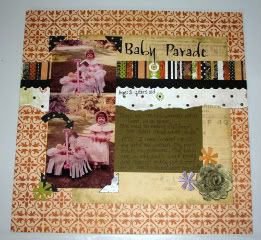
"Baby Parade Layout" by Sharon Hill
Photobucket

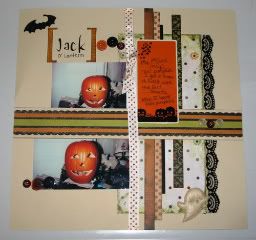
"Jack Layout" by Sharon Hill
Photobucket

"Creepy Layout" by Sharon Hill
Photobucket

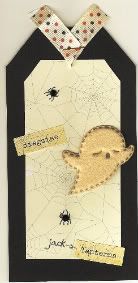
"Halloween Tag #1" by Sharon Hill
Photobucket

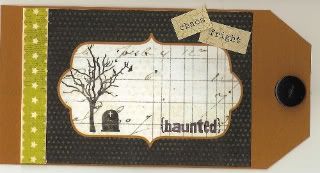
"Halloween Tag #2" by Sharon Hill
Photobucket

"Halloween Tag #3" by Sharon Hill
Photobucket

"Halloween Tag #4" by Sharon Hill
Photobucket

"Halloween Tag #5" by Sharon Hill
Photobucket

Of course that is me in the photos as a child. My mom made my costumes. She made the cheerleading skirt and I wore my dad's band sweater (he used to play in the marching band when he was a kid). My mom also made the costume/dress for the "Little Old Lady Who Lived In A Shoe" float. I remember that one. Now the poodle skirt I bought for my costume I wore to work. I even have the crinoline for under the skirt to make it poofy. Boy was it fun trying to do ultrasounds with that on. As soon as I sat down, my skirt poofed up in front of me. I had to beat it down between my legs so I could see the machine. We had quite a few laughs with that. The patients loved it too. The other layouts were decorations, how I decorated outside and my only real pumpkin I carved that I got as a Girl Scout. That was the only time I ever went to a pumpkin patch to get a pumpkin. Most of the big ones were gone. I got lucky and found that one.

Lots of memories from these layouts. But then again, that is what scrapbooking is all about. Preserving those memories.

Happy Scrappin'!

Signature resized smaller